How To Retouch Your Own Headshot
When living in the entertainment capital of the world, it's likely you'll need a headshot for acting auditions or even for your job on a corporate website. In any case, you'll want that shot to be the best possible, while still looking like you. Ideally, you should hire a professional photographer and leave the retouching to the pros, but for those who can't afford it or simply want to learn a few Photoshop tips to improve their own headshots or portraits, read ahead and have some fun.
Tutorials
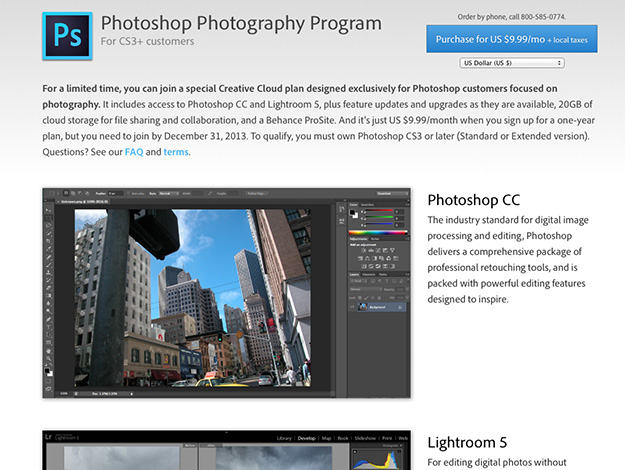
You'll find plenty of portrait retouching videos to learn from on Adobe and Lynda.com. If you're a beginner Photoshop user, watch some basic tutorials first, until you're familiar with using the tools and layers in Photoshop. Most professional photographers retouch in Lightroom first (100% non-destructive), and then bring the image into Photoshop for a few more tweaks. Check out these video examples of doing a quick retouch using the clarity slider, retouching eyes and complete portrait retouching. Don't miss out on Adobe's offer to subscribe to the latest version of Photoshop CC for only $9.99/month, which includes Lightroom 5.
Sharpen the Eyes
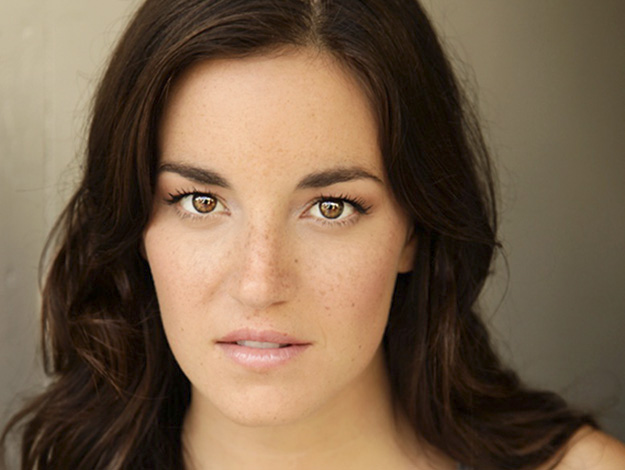
The eyes are probably the most important feature on a person's face. Take care to emphasize them, but don't over-do it. Create a new blank layer and label it "Eyes Sharpen." Use the new Sharpen Tool in version CS6 or CC, which is found below the Eraser tool. In the Options bar at the top, be sure both boxes are checked with "Protect Detail" and "Sample All Layers," then set the strength to 20%. This way you can build up the adjustment as you paint over the iris with the Sharpen tool. Since the eyes are on their own layer now you can also adjust the opacity in the Layers panel if you need to lessen the effect.
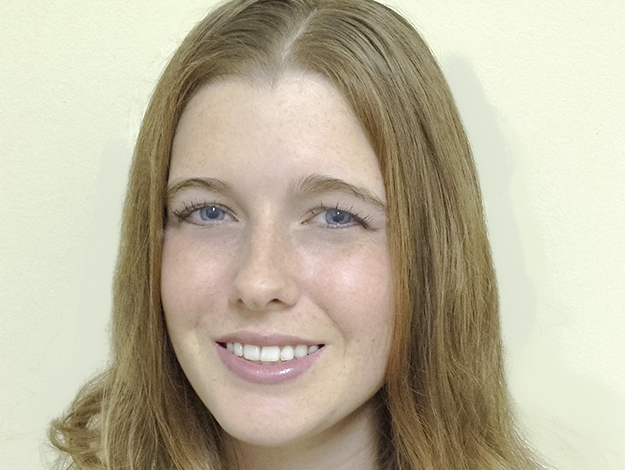
Smooth the Skin and Remove Blemishes
First, use the Healing brush tool or the Spot Healing Brush and zap those zits! Just position the brush over the spot you want to erase and L. click. Most women look better with smoother skin and men look better with sharper, more rugged skin.
For smooth skin, use the Lasso tool and make a selection of the face, then put it on its own layer (CMND J on MAC and CTRL J on PC) and name it "Face." Go to Filter – Blur – Gausian Blur and type 1 px. This makes a smoother complexion, but you don't want the eyes and features to be soft so you have to add a layer mask, which will reveal parts of the sharper layer below. On the "Face" layer, click the icon on the bottom of the Layers panel that says "add vector mask." Get your brush tool ("B") and make sure your foreground color is black and start painting in the sharper eyes, eyebrows, nostrils and lips on the mask. You should start to see these black features on the white mask, which means the "holes" reveal the sharper layer below it. If you're accidentally painting on the image, hit Cmnd Z on MAC or Ctrl Z on a PC (to go back a step) and make sure you are clicking on the Mask icon on the "Face" layer, not the image itself.
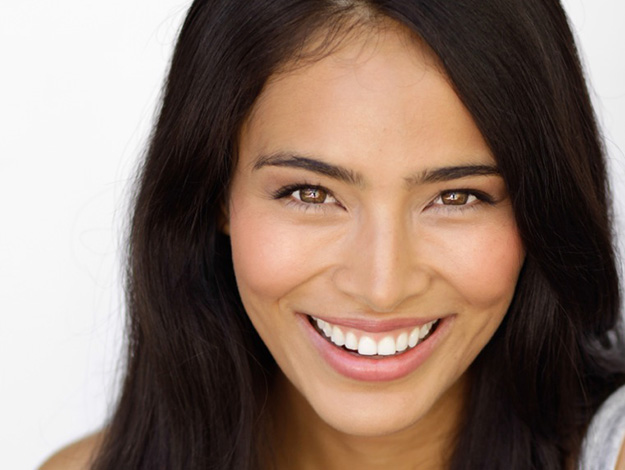
Whiten teeth
Add a new Hue/Saturation Adjustment Layer and select the Targeted Adj tool, click on the teeth and drag to the left until the teeth are whiter. Press Cmnd-I (MAC) / Ctrl-I (PC) on the layer mask to invert it to black. Choose a soft brush (press B on your keyboard) and paint over the teeth to remove the yellowing (with White as the foreground color).

Slim Down Instantly
Here's a quick and easy slimming trick. Press Cmnd A (MAC) / Ctrl A (PC) to select the entire image and Cmnd T (MAC) / Ctrl-T (For PC) for the Free Transform tool. Grab the R. or L. center point and drag inward, but keep the width percentage below 5% (in the Options Bar) for a slightly slimmer look overall. Press Return/Enter to lock in the transformation. It's never been easier to lose 5 pounds!
The most important lesson is to not be too heavy-handed with the retouching. Keep your subject looking natural and control the amount of adjustments in your layers by using the opacity slider. When in doubt, decrease the opacity – less is more.
If you're serious about learning Photoshop, consider becoming a NAPP member to access thousands of video tutorials, and receive a $100 discount at Photoshop World, which offers dozens of classes in photography, image editing and graphic design, taught by the world's leading experts.