Ask A Los Angeles Expert: Best Do It Yourself Cat Toys
With nearly 100,000 cat owning households in LA alone, felines have become quite the popular pet. Low maintenance and independent cats don't need much to be entertained. When you're a cat, everything is a toy. But here are few suggestions for DIY cat toys from a fellow cat-lover to make sure your feline friend is extra happy.
Nikki Terranova
Alex Roldan Salon in the London Hotel
www.facebook.com/Nikki-Terranova
Brilliant hairstylist Nikki Terranova is a big fan of felines and makes cat toys as a hobby. "Making cat toys and furniture is another way I get to be creative," says Terranova. Having rescued a number of cats, Terranova started making cat toys and some light furniture as an experiment. "My cats didn't want to play with the store bought toys. They liked to play with things I already had in my house, so I started turning those things into toys." Here are some of Terranova's easy DIY cat toys.
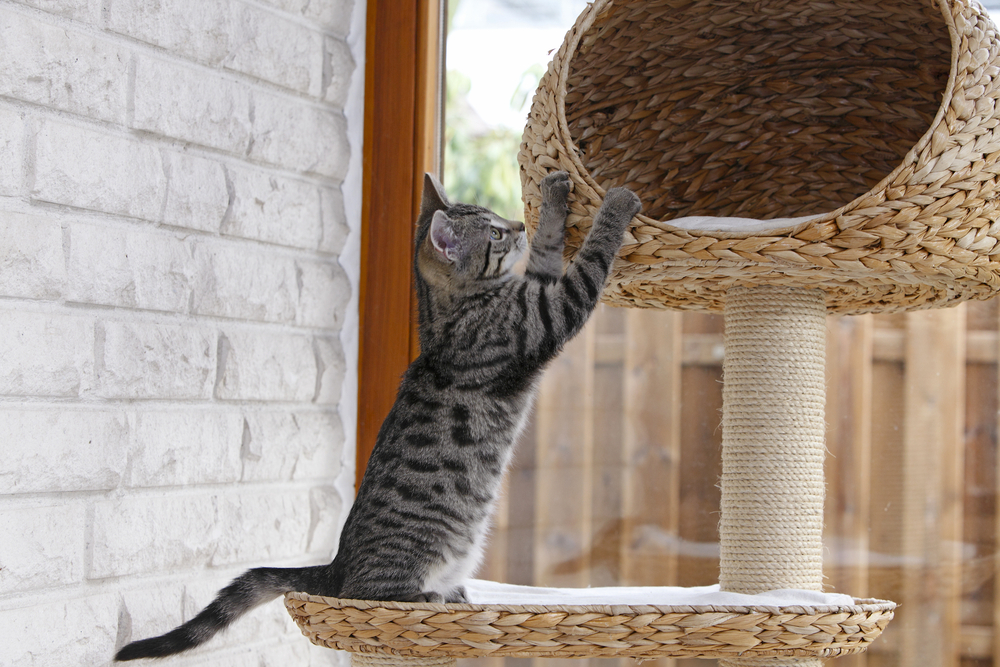
Cat Scratcher
Materials:
- Plywood 2 feet long, 1 foot wide (base)
- Plywood 1 foot long, 6 inches wide (leg)
- Small t-shirt
- Wood glue
- Clamps (optional)
- Sisal rope
- Hot glue gun
- Staple gun
- Catnip
Instructions:
- Buy the plywood at your local hardware store and have them cut the wood for you. If you have a large cat, you can use wider and longer pieces of wood.
- Match up the long edge of the leg to the edge of the width of the base to create an L and glue into place. Let dry. For a more secure fit, clamp and let dry overnight.
- Put the whole thing inside the t-shirt and gather the extra material under the base and secure with either safety pins or staples. Arrange the shirt so the neck hole is either on the top or underneath the plank. Make sure you leave enough loose material at the leg and base so you can tightly wind rope around that area.
- Attach one end of the sisal rope underneath the plank close to the bottom edge. Staple into place.
- Wind sisal rope tightly around the base, adding hot glue between the rows on the top of the plank. Wind rope all the way to the end and down the support leg if so desired.
- Staple the end of the sisal rope to the plywood.
- Sprinkle with catnip.
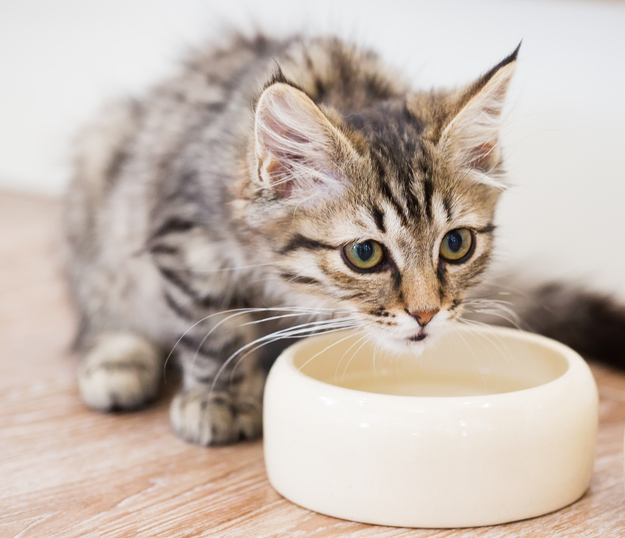
Cat Bowls
Materials:
- Acrylic bowls and saucers, various sizes
- Paint pens, Decocolor Opaque Paint Markers
- Stencils
Instructions:
- Doodle, draw or trace design from stencils onto bowls and dishes. It's a fun and simply way to get creative. Let your imagination run wild. If you have an artistic ability, you can go all out. If not, use stencils, or do your best to make cat faces, flowers, butterflies or whatever you feel like.
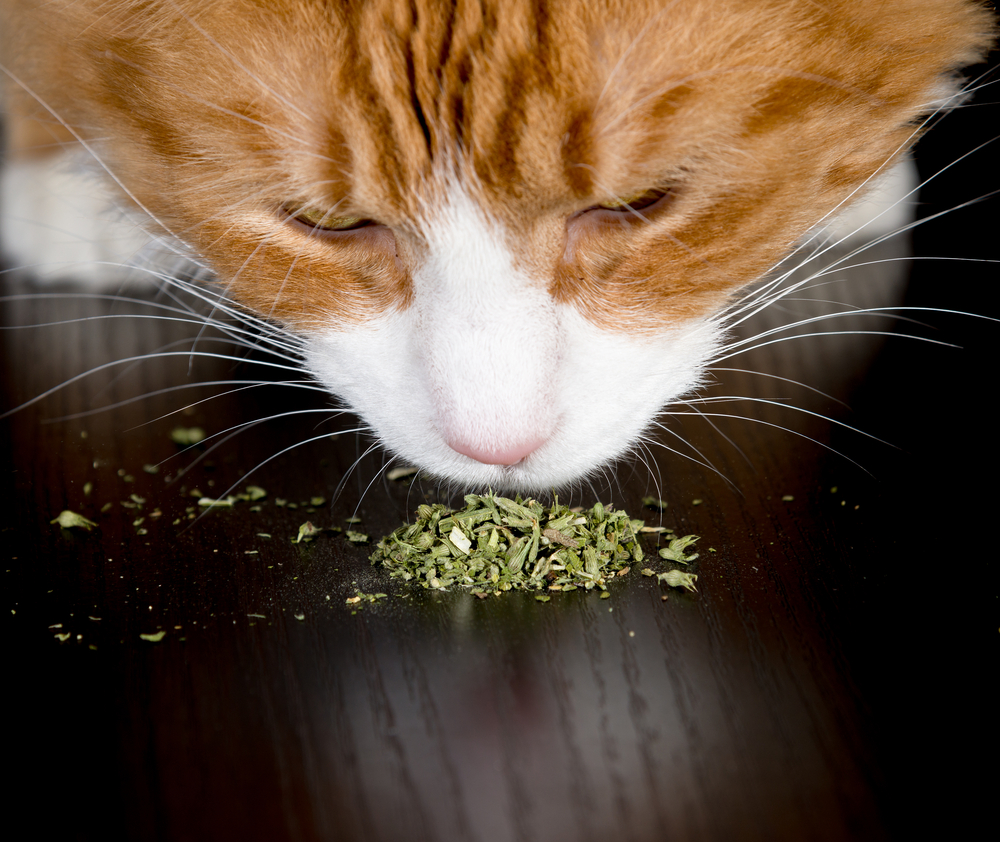
Catnip Cat Toys
Materials:
- Fabric scraps
- Feather boa
- Catnip
Instructions:
- Cut scraps of material into matching sized pairs of shapes like squares, circles, triangles or any kind of fun shape. You can make them any size you want.
- With either a sewing machine or by hand, sew together three sides of your shape to create a pocket. If your material has a pattern, sew the two pieces together with the pattern on the inside.
- Turn the piece right side out. Fold the top into the inside about a half an inch to create a hem of sorts.
- Fill the pocket with catnip (about an inch from the top). Cut a piece of the feather boa about twice the length of your material and stick half of it into your catnip filled pocket and sew closed.
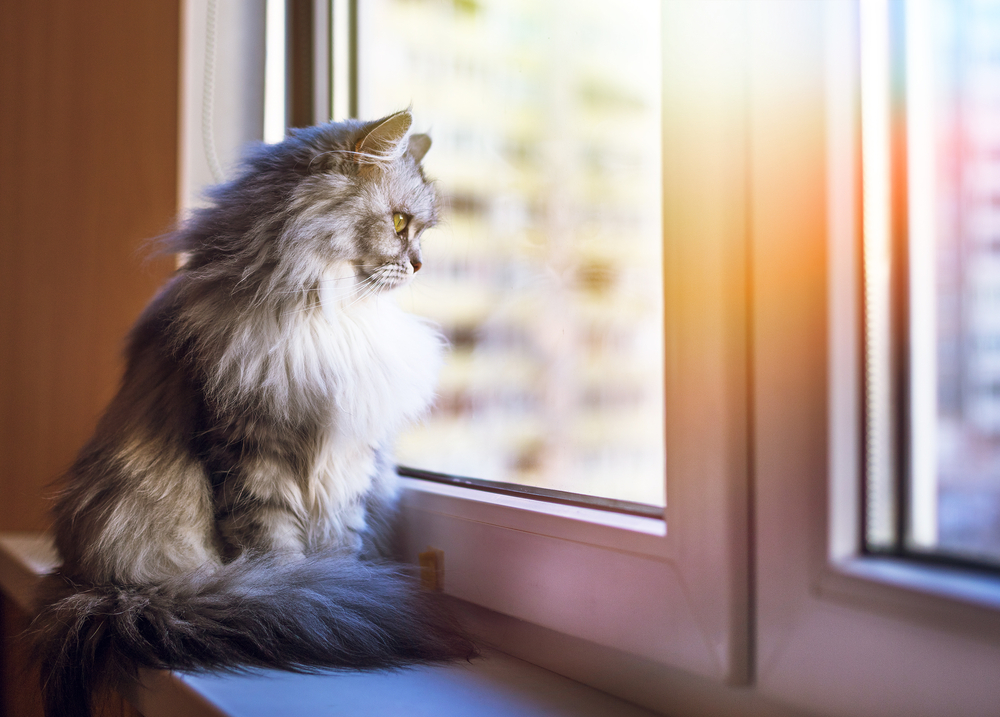
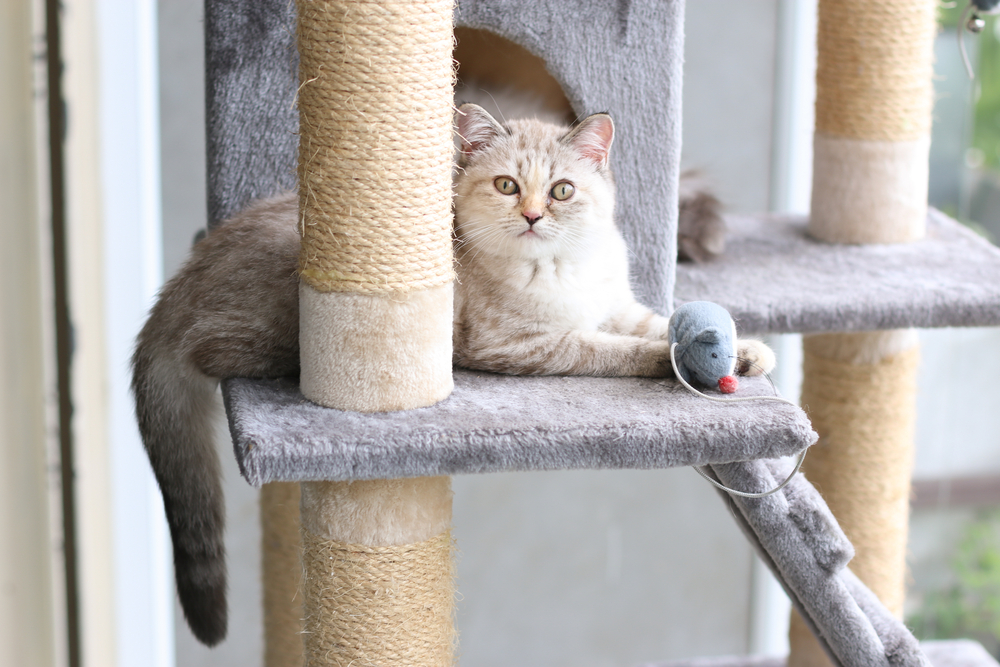
Window Perch
Materials:
- Old Tray
- Pillow
- Sturdy shelf brackets
- Screws
Instructions:
- Find a decorative or vintage serving tray large enough for your cat to lay on. Make sure it's sturdy. If it's too thin and your cat is on the meaty side, it will bend.
- Find a window that overlooks a lot of activity. Measure and mark the wall where the brackets will go, and pre-drill holes (wall anchors may be needed). They should be spread far enough apart where the ends of the tray will be supported but not so far apart that the middle isn't sturdy.
- Attach the tray to the brackets from the top of the tray with short screws, then attach brackets to the wall.
- Place a thin pillow or carrier pad on the tray. You can anchor it with double sided fabric tape or a piece of rug gripper.
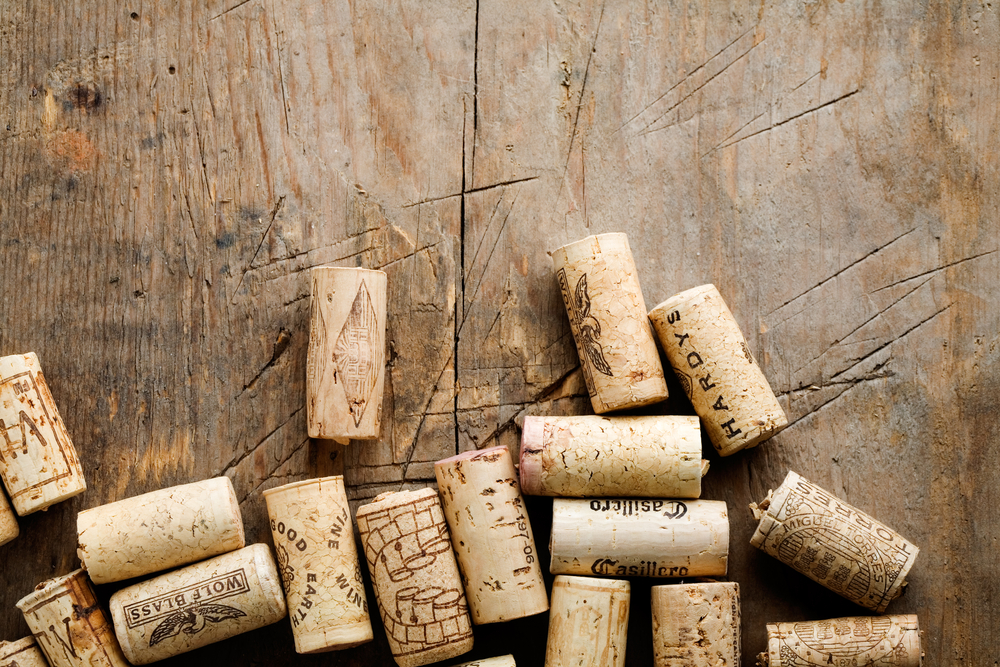
Wine Cork Toys
Materials:
- Wine corks
- Felt, ribbon strips, feather boa
Instructions:
- If you're a wine drinker, this is a perfect way to upcycle your wine corks. Simply cut fabric, felt, ribbon, yarn or pieces of a feather boa into strips long enough to stick out a few inches on either side of the cork and thread one end through using the hole already made by your corkscrew. Use whatever you have laying around the house to help push it through, like a skewer or a small screwdriver.
Related: Best Pet Adoption Centers In LA